DIY Trellis Ideas that Will Transform the Garden this Spring

Trista - February 27, 2020
Share

Architecture is everywhere we look from our home to the streets. Sometimes people travel thousands of miles to see some of the incredible architecture in the world. In contrast, other people want to spruce their homes up a little more by making or buying particular architectural objects. For instance, gardeners love to have trellis as they can decorate them with flowers and make their gardens look unique.

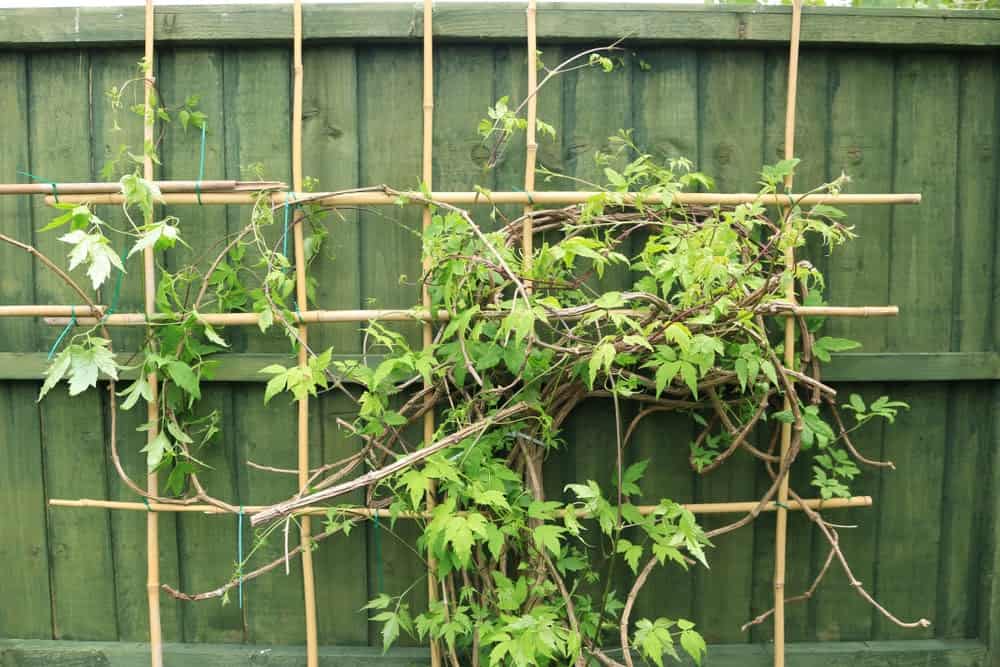
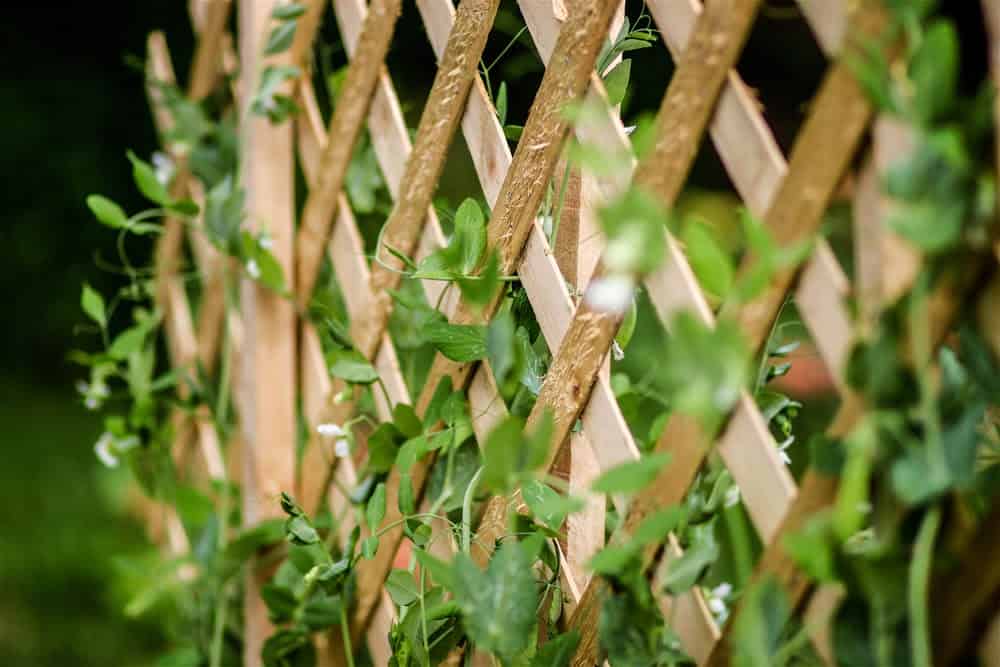
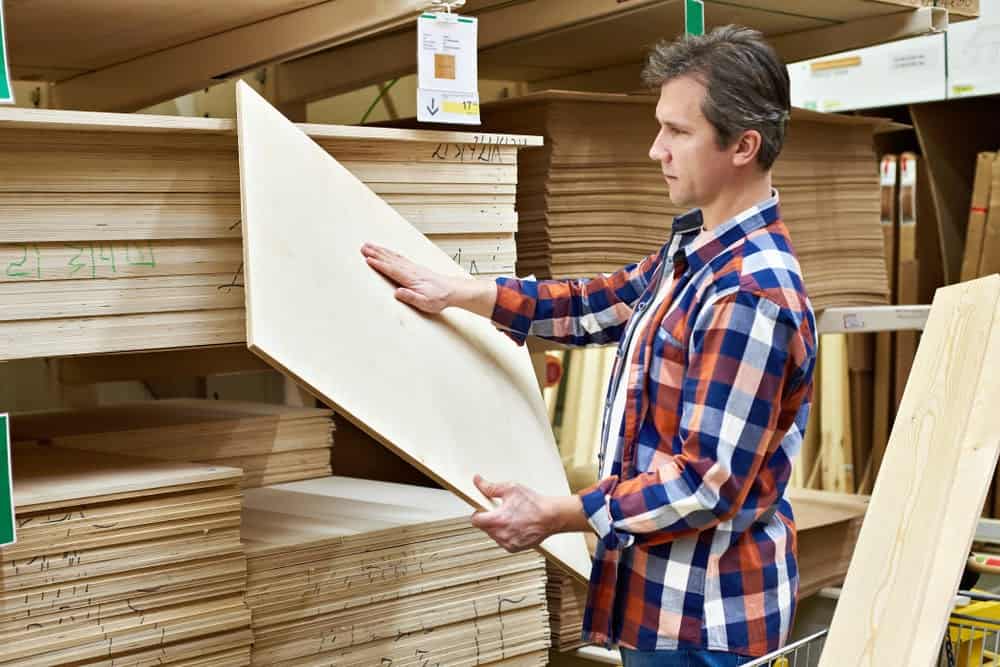
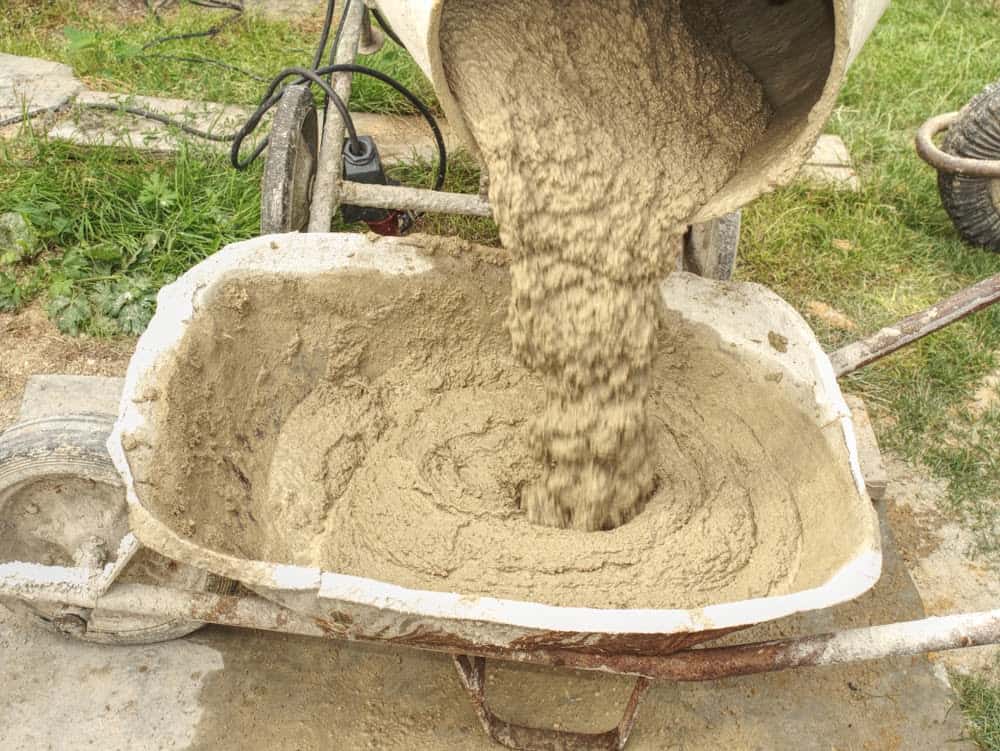
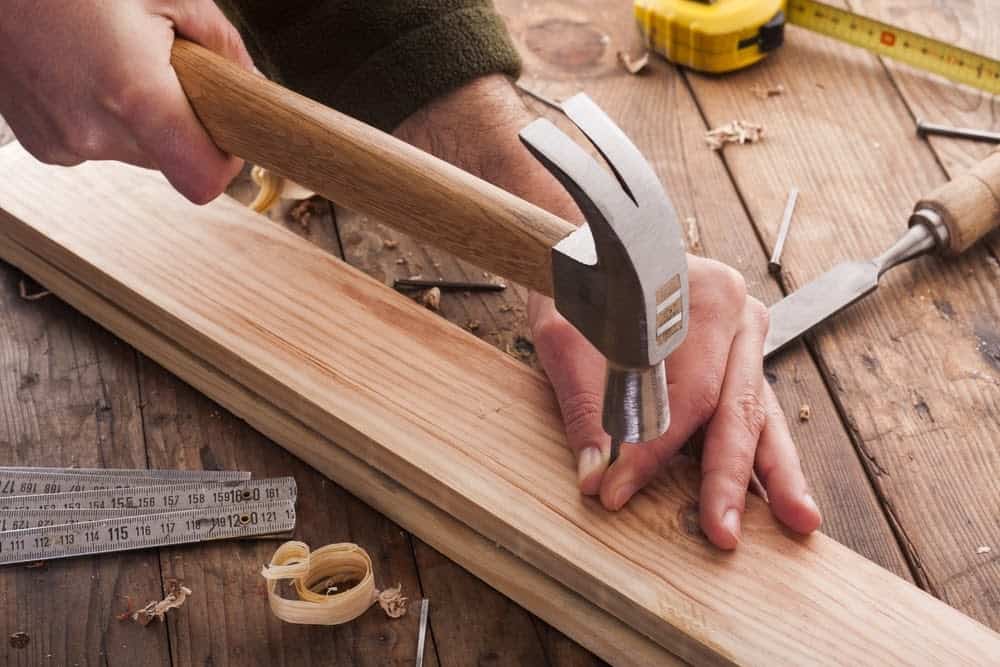
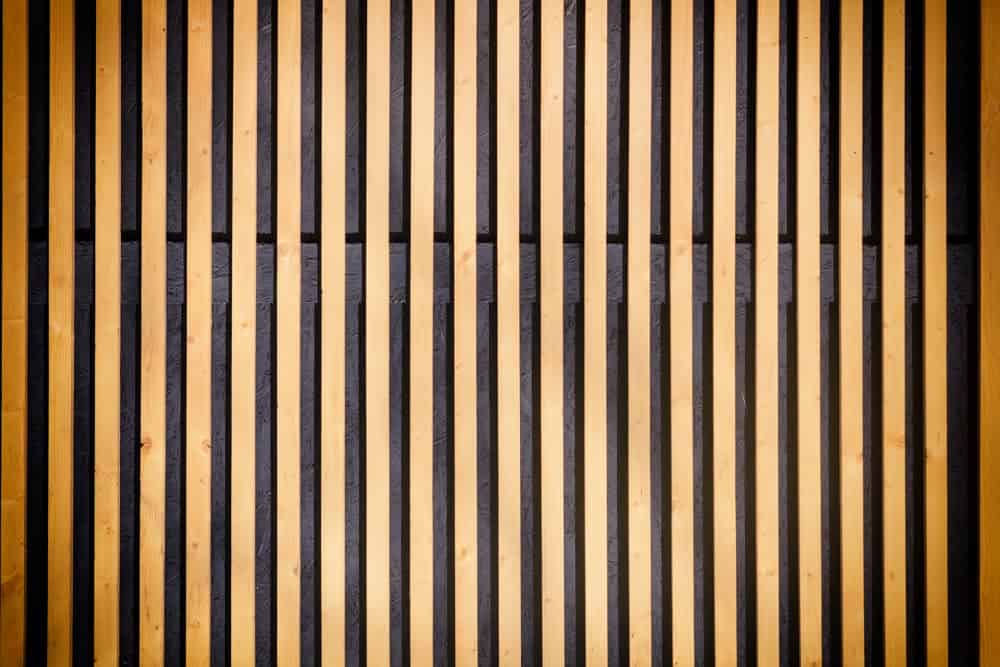
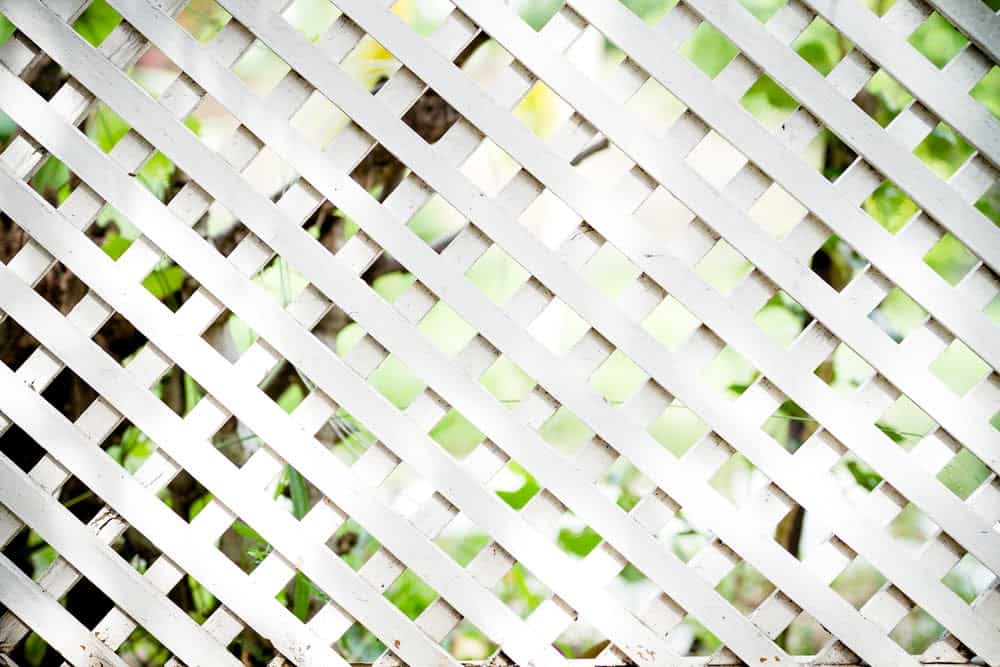
A garden trellis is usually made from lattice of interwoven wood, framework, or other pieces of wood, metal, or bamboo. You might go past a neighbor’s garden and wonder where they found their garden trellis on to discover that they built it themselves. As this article will show you, it is a lot easier to create your own trellis than you think.

You can hang flowers or plants along your trellis, which provides you more room in your garden. Shutterstock.

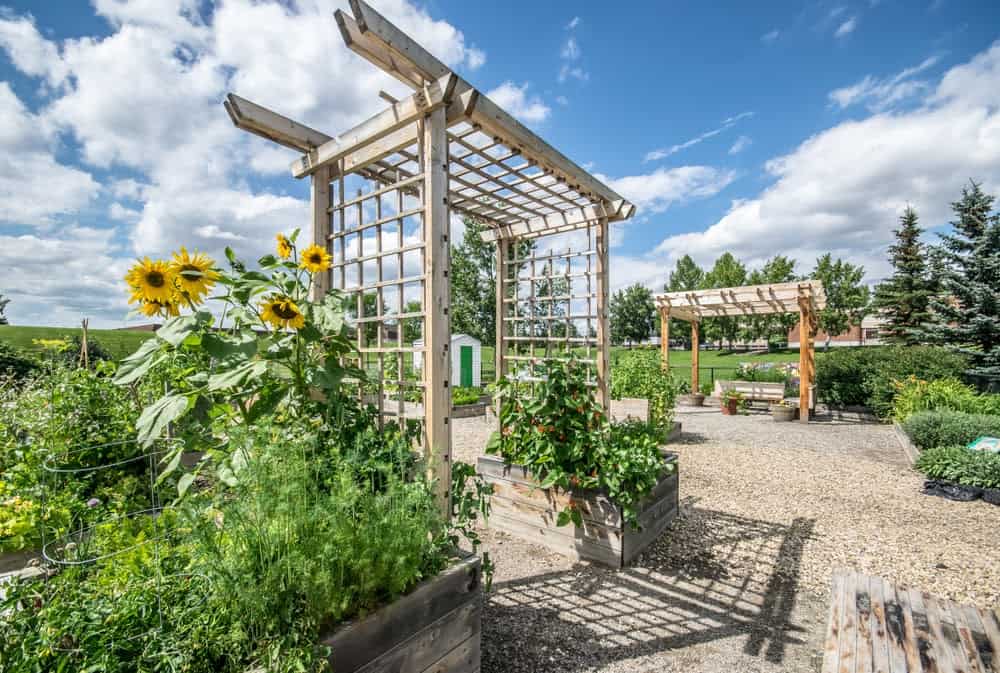
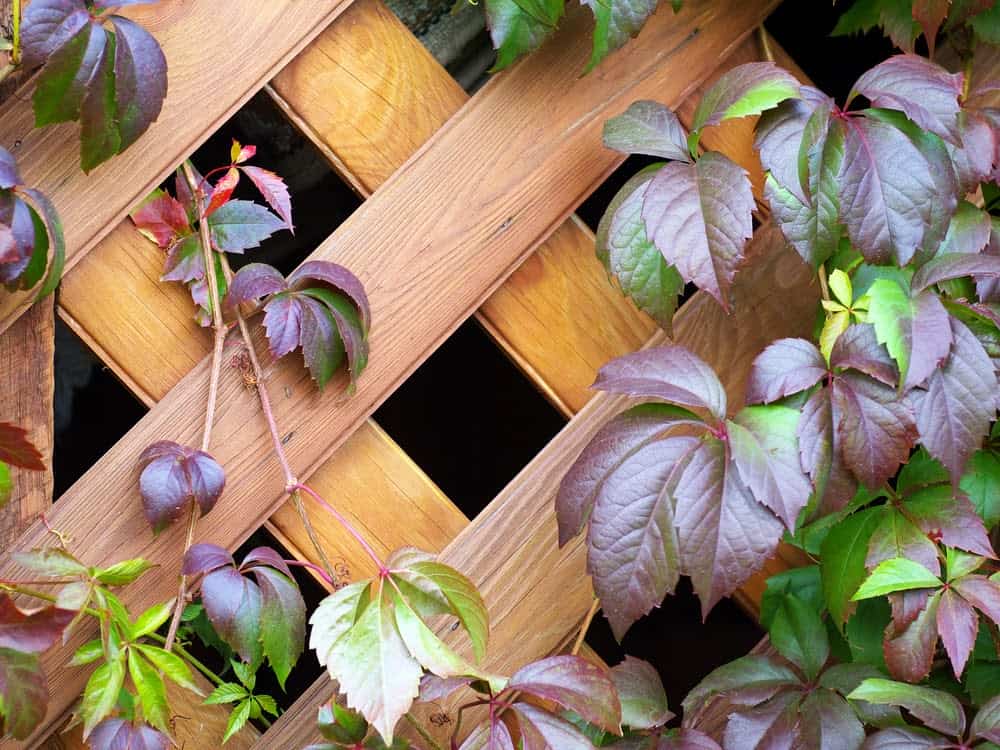
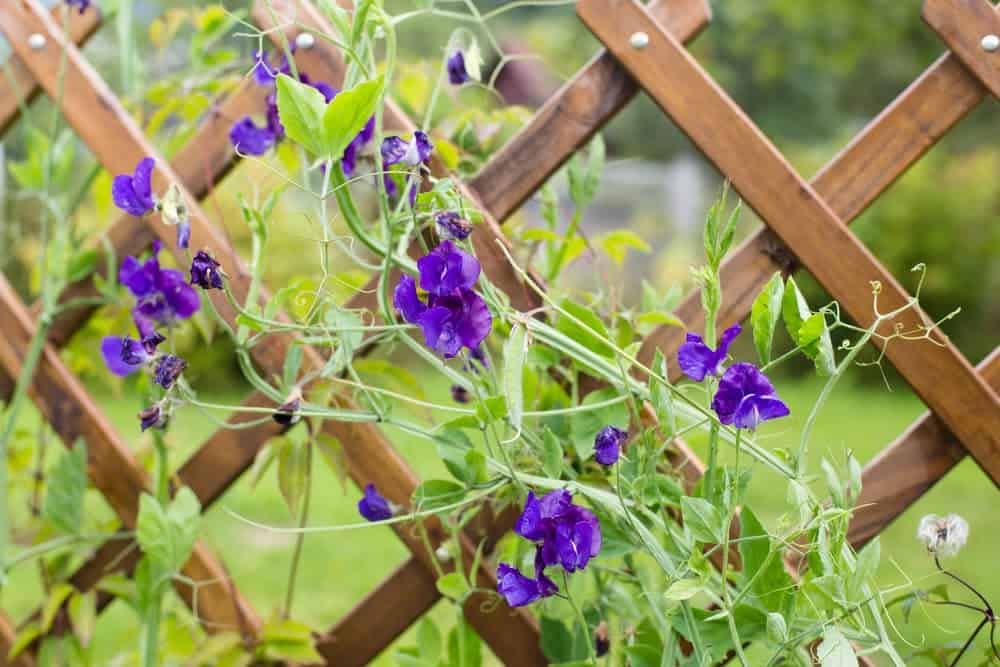
Trellis Is A Great Landscaping Element For Any Garden

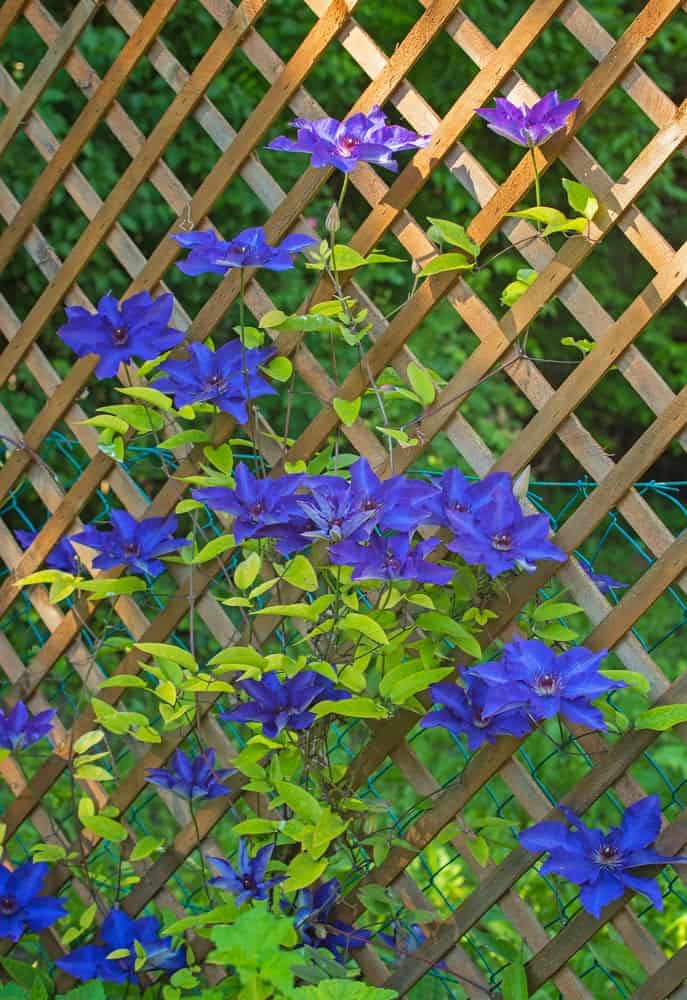
There are many reasons people decide to get a trellis for their garden. Some people want to give their garden a special touch, other people want to grow a particular plant or flowers on the trellis, and some gardeners wish to give their space a peaceful flow. Depending on how long a trellis stands will depend on how much grows onto the area. Many people have had their trellis for decades and find it looking mysteriously beautiful after several years.

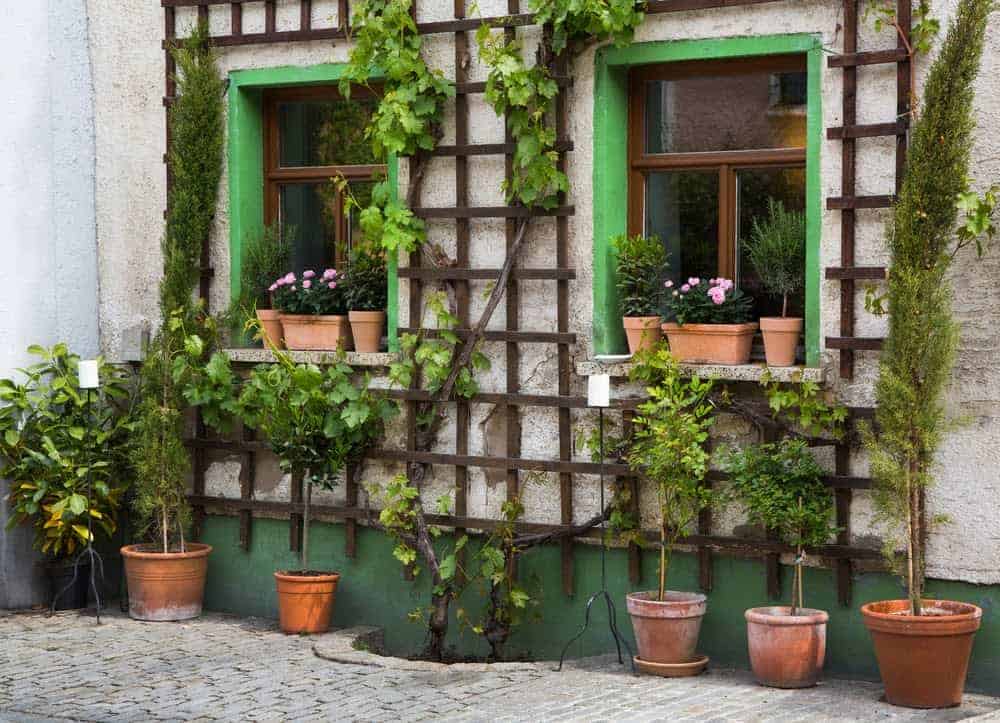
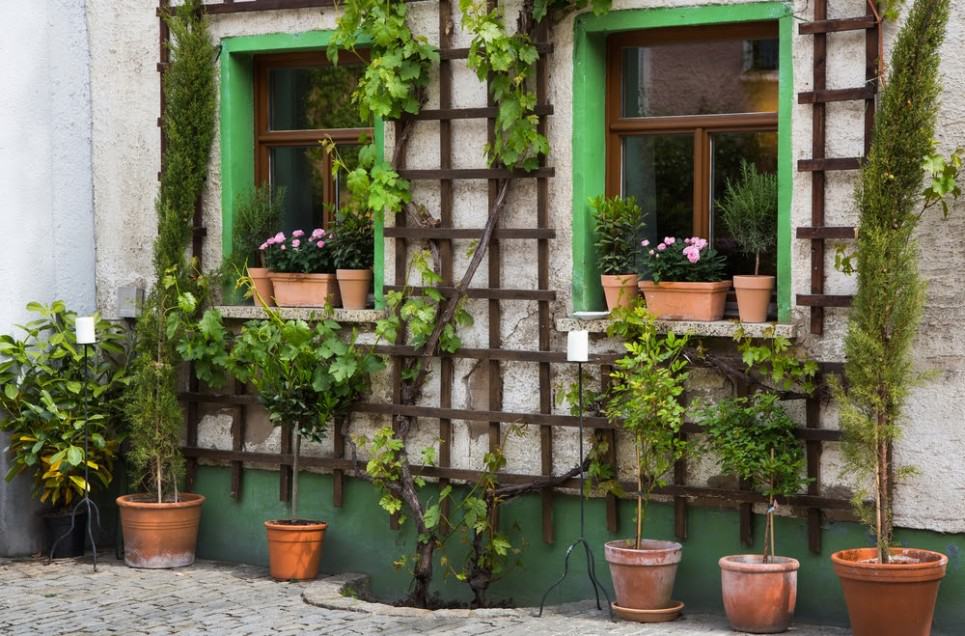
It is true; a trellis is greater than any regular fence that you could add to your garden. It is more than a decoration – gardeners often see a trellis as a way to make their garden stand out from all other gardens. It’s a way to show off their skills, flowers, vines, and vegetables. Another benefit of the trellis is that it can add value to your property.

You don’t need to worry about expenses when it comes to building a trellis because they are cheaper to produce than you think. Shutterstock.

Building A Trellis Is Cheaper Than You Think And Doesn’t Take A Lot Of Time

It is easy to think that you need to have a big budget or save your money for several months to purchase a trellis. You can easily walk by one is someone’s garden, see the beautiful flowers and vines growing, and think, “I wish I had the money for a trellis.” The truth is – you can have your own garden trellis without a large budget or a lot of money.

Building your trellis takes inexpensive materials and necessary tools. You don’t need to take a whole week off of work or keep busy on your evenings for a couple of weeks to get the job done. All you need is about one or two free days, and you will build a great and inexpensive trellis to show off to your community.

Your garden trellis is freestanding, so you don’t need to worry about having a specific area for supporting your structure. Shutterstock.

The Garden Trellis Stands Independently

It is easy to quickly look at a garden trellis and think about all the work that goes into it and how you need to find a particular spot, so other structures support it. However, the trellis stands independently from all other structures. This gives you a significant advantage when it comes to finding the best location for your trellis because it doesn’t limit you.

You could build your trellis behind your garden and use it similar to a backdrop. You can also build your trellis next to your house, so particular vegetation doesn’t start to harm your home, especially the foundation or exterior siding. You can also focus on the flowers and plants that will grow on your trellis and find the best spot, so they get the most sun throughout the day.

The trellis has several advantages that will make you wish you would have built one earlier. Shutterstock.

There Are Many Advantages Of A Trellis

The trellis has many advantages, which is one reason why many people choose to build one for their garden. Other than the two benefits already discussed, the trellis is freestanding and gives a garden a unique look, they also offer you or your animals shade if the sun is at a certain angle. You can even place your trellis in a specific spot and create a lounging space behind it, so you are blocked from the sun but still get to sit outside and enjoy a beautiful and sunny day.

Other advantages of the trellis are they allow you to grow more flowers or plants without taking up more ground space; they are easier to harvest, keeps fruit and vines off of the ground, and increases airflow, which decreases plant disease.

You can buy any type of wood, but the best model is wood, which is rot-resistant. Shutterstock.

Make Sure You Use Rot-Resistant Wood

Most people want to use wood for their trellis, which is perfectly fine. Wood is one of the most common ways to make a trellis. Wood is easy to buy, cut, paint, and work with, which is a top benefit for anyone who is building their first trellis. However, one of the biggest mistakes that people make is purchasing wood that will quickly rot. Not all wood is meant to stay outdoors unprotected. It tends to decay over time due to weather conditions, such as rain, sleet, snow, hail, and wind.

When your wood rots, your trellis can break and fall apart. While you might find yourself repairing your trellis from time to time no matter what wood you buy, wood that rots quickly will cause more problems, and your trellis won’t last as long as it could with rot-resistant wood. The moral of this little tale is that you want to ensure you buy rot-resistant wood for your first investment.

Wood is one of the most important pieces when building a trellis, so you want to make sure you know your measurements and purchase the right type of wood. Shutterstock.

Most Of The Materials On Your List Is Wood

To build a trellis that is eight feet long and about six feet high, you will need two 4-inch x 4-inch x 8-foot lumber that is pressure treated. You will also need seven pieces of 1-inch x 2-inch x 8-foot lumber. On top of this, you also need to write down two 2-inch x 2-inch x 8-foot lumber onto your material’s list.

Another item to write down on your list but is not considered lumber, but a type of wood is lath. This is a thin and narrow strip of straight-grained wood that many people use for tiles, shingles, or walls. Your lath should measure at 5/16 inch x 1-1/2 inch x 8-foot, and you will need 14 pieces.

When you write out your materials list, you might start to think that the list is big, but don’t worry, the list looks bigger than it really is. Shutterstock.

You Will Finish Off Your List With These Materials

Other than the wood, you will need other unique materials. This includes four 2 x 4 galvanized flat rail fence brackets, two post covers for the 4 x 4s, galvanized exterior grade nails, and exterior grade screws. Along with these materials, you will also need two bags of all-purpose gravel and two bags of quick-set concrete.

Quick set concrete can make people nervous when they use it the first time, especially when they are making something important and don’t want to cause a mistake. The trick is to make sure you have a 5-gallon bucket to mix the concrete and that it only takes about 20 to 30 minutes for the concrete to set. This means that while you need to work fast, you can also continue working on your trellis without needing to let the concrete set and dry for a couple of days.

Post hole diggers can run anywhere between $25 to over $100, depending on what type of digger you want. Shutterstock.

There Are Materials You Might Rent Instead Of Buy

One of the bigger material items you will need to build your trellis is a post hole digger. Unless you purchased one earlier to use to make a fence or for another home improvement means, you will look at the price of one and wonder what is meant by cheap materials. Even though you can find a manual one for around $30 at Walmart, it can still add up with your other articles. Fortunately, you don’t have to buy a post hole digger unless you want to make the investment, or you have no other choice.

Because most stores, such as Menards and Home Depot, understand that sometimes you simply need a post hole digger temporarily, they have rental programs for this item. All you need to do is go to your local store and ask if it is possible to rent a post hole digger. If the store doesn’t have that policy, the employee might have another idea, so you don’t need to purchase the item.

There are many materials that you have in your home you can use. Always take the time to look around your home before you purchase items at the store. Shutterstock.

Don’t Forget About The Materials You Might Or Might Not Have Around Your Home

Depending on how many home improvement projects you’ve completed over the last couple of years will depend on what materials you have around your home for your trellis. For instance, you will need a hammer, but because most people have a hammer, you do not need to buy one at the store. Other materials to look for around your home before purchasing are a bubble level, hammer, and an electric miter saw, or hand saw.

Another material you have in your home is paper and a pen or pencil. You want to take time to create a guide, so you know exactly what design you want to do before you start building your trellis. For example, will you have four posts and create a plan that looks similar to a tower, or will you have two posts and create a design similar to a ladder? If you need some ideas, there are plenty of pictures on the Internet. All you need to do is Google trellis to get an idea of what you like and want. From there, you will head to the store to purchase all the items you need, but you need to remember to have all your measurements and the correct number of things, so you don’t need to make another store trip!

When digging your holes for your trellis, you want to pay attention to the measurements, but don’t stress over it. Shutterstock.

Step 1: Dig Holes For The Posts

If you have built a fence before, you will have no trouble starting on building your trellis. You will begin by drilling two holes with the post hole digger. This step is the foundation of the trellis because, without these holes, you can’t anchor it. You want to ensure that the holes are 9 inches wide and 2 ½ feet deep. Furthermore, the holes should be 8 feet apart.

The measurements are essential, but if you are off but a ¼ of a foot, it won’t matter too much. You will fill these holes with gravel and concrete, so any bigger hole can quickly be filled. However, you do want to make sure that the posts will fit well in the holes, and you will have enough gravel and concrete, so the trellis doesn’t fall over in the wind.

When using the quick-set concrete, you can pour the mixture from the bag into the hole and then add water or mix the concrete by following the directions on the bag. Shutterstock.

Step 2: Set The Fence Posts

After the holes are complete, you want to pour about 6 inches of gravel into them. Take one of the 4 x 4 posts and push the gravel down and pack it together. Set the post into the hole and then take your quick set concrete and pour around the post. Once the hole is completely full, pour enough water into the hole to reach the top. Don’t worry if your water overflows a bit; it will soak into the concrete and ground.

To ensure that the fence posts stay secure and the concrete hardens with the post standing straight, prop up the post with other wood, string, or any other object. Repeat the same process with the second post. Once both posts are finished, wait a couple of hours (most people like to wait at least 4 hours), so everything can set well.

When attaching the 2 x 2s to the posts, you want to follow the measurements and make sure you allow the concrete to dry thoroughly. Shutterstock.

Step 3: Attach The 2 x 2s To The Posts

Once you know the concrete is dry and the posts are secure, you want to start attaching the 2 x 2s. Start by cutting each of the two 2 x 2s to 5 feet long. Take two of the 2 x 4 galvanized flat rail fence brackets and attach them to the inside of one fence post. Attach the other two rail fence brackets to the other post. Make sure that the top rail fence brackets are about a foot below the top of the post. The bottom rail fence brackets need to be a foot above the ground.

Once you have the rail fence brackets in place, you need to attach the 2 x 2s to the inside of the 4 x 4 posts. At this point, they will look like they are resting on the posts. Each of the 2 x 2s should be six inches lower than the height of the posts. Remember, you need to secure the 2 x 2s by screwing holes into the brackets.

When you are attaching the laths, you can use any measurement, though the average is 5 inches between each of them. Shutterstock.

Step 4: Attaching The Horizontal Slats

Once you have all the 2 x 2s attached to the posts, it is time to nail the laths to the 2 x 2s. The key is to remember to space them out, so there are 5 inches between all the laths. Another important note is that you want to make sure that the nails are not sticking out in any way. You can easily cut yourself when you’re harvesting if any part of the nail is not placed correctly. Start with the top strip and use your bubble leveler to make sure everything is level. Then, you will attach the bottom strip.

If you don’t have a measure tape or ruler, you can eye the 5-inch measurement. In fact, you can break up the pattern in any way that will work with your trellis. Most people feel that the best tip is to ensure that the top and bottom rows are a tad bit wider than the other rows.

Attaching the vertical slats to your trellis will give you a little bit of company. Shutterstock.

Step 5: Attaching The Vertical Slats

Once all the horizontal slats are attached, it is time to start connecting the vertical slats. To do this, you will attach the 1 x 2s vertically to the horizontal slats. It is during this step where a little help will make the job a lot easier. Have someone hold a heavy object behind the nailing surface as you when you are nailing by hand. Of course, if you have a compressed air nailer, you will not need another person to help unless you want the company.

These vertical slats are usually about 12 inches apart, and you generally start in the center. While the center starting point is easiest for most people, you don’t need to follow the 12-inch measurement. Like you did with the horizontal slats, you can create your own measurement and design.

By polishing your trellis, you can show off your skills that will make you look like a professional. Shutterstock.

Step Six: Polish Your Trellis

There are a few finish touches that you will need to follow to give your trellis a polished look. First, you need to nail the remaining lath strip to the top of the vertical pieces. When you get to your last lath strip, you want to make sure that the flat side is parallel to the ground. While you can use your design, you want to make sure you follow this step as it will help complete the polished look.

For the second step to get the polished look, you need to nail the post covers the tops of the 4 x 4s. This is a benefit because it will prevent any water from building on the top of the posts, which can start to damage your trellis. Furthermore, the trellis will have a round and smoother look, and this definitely makes your trellis look like a professional built it!

Depending on how big your trellis is, painting can become time-consuming, but the most critical step is first to decide you want to paint it, choose the color, and remember always to put on a couple of primer/sealer coats before you paint. Shutterstock.

If You Decide To Paint Your Trellis

There is a bit of debate that goes around the gardening world, and you might already have heard about it. This debate, which focuses on the trellis, has two sides. One side talks about how you shouldn’t paint your trellis while the other side thinks that there is nothing wrong with painting it, as long as you follow the correct steps and take the appropriate precautions to make sure everything goes smoothly.

In reality, you can paint your trellis if you want to take the time. Depending on how big it is will depend on how much time it takes. If you make it the size that this article follows, then you should get the whole trellis painted within a few hours (depending on how many breaks you take). If your trellis is large, it might help you to use a paint sprayer over brushes. Again, this is something you can sometimes rent from the store. The most crucial part about painting a trellis is to apply at least two coats of Ultra Premium Exterior Primer/Sealer to protect the wood and help hold the look you choose.

Always take time to admire your work, even while you are working on a project. It’s a great way to boost your confidence and keep you motivated when completing your project. Shutterstock.

Now, It Is Time To Admire Your Work

The hard part is over, and now, even if you had fun building your trellis, it is time to have even more fun. But before you start planting, you need to take a step back and admire all the work you put into building your trellis. Even if you thought it was easy or request help from friends or family, this is an accomplishment and something you need to be proud of.

Take a moment to pat yourself on the back because you deserve it! Don’t be shy to take a picture on your phone and send it to your friends, family, or post to social media. This is an excellent addition to your garden, and like any other gardener, it is an exciting moment.

Finally, the time you have waited for – planting your favorite flower or plants in front of your trellis so they can start to grow around it. Shutterstock.

Finally, Get To Work On Planting Your Trellis

It is finally time to start growing plants on your trellis. Of course, you need to make sure that the paint is dry and then you can start looking for your favorite flowers or plants. When you get to this part, you need to think of support. For example, how many plants can you hang from your trellis, and what is the weight of the plants and planters?

If you don’t plan to hang plants from your trellis, then you want to focus on what plant or flower to plant in the ground. Once you choose this, you want to plant it a few inches from the front of the trellis. Then, you will help the vine find its way to trellis by loosely tying the end to it.

Sources:

“How to Build a Garden Trellis.” Lee Wallender, The Spruce. August 2019.

“How To Build A Garden Trellis From Start To Finish.” Simona Ganea, Homedit.

“How To Build A Trellis” Better Homes & Gardens.

“How to Grow Plants on Trellises.” Andrew Sisk, DIYNetwork.

Advertisement