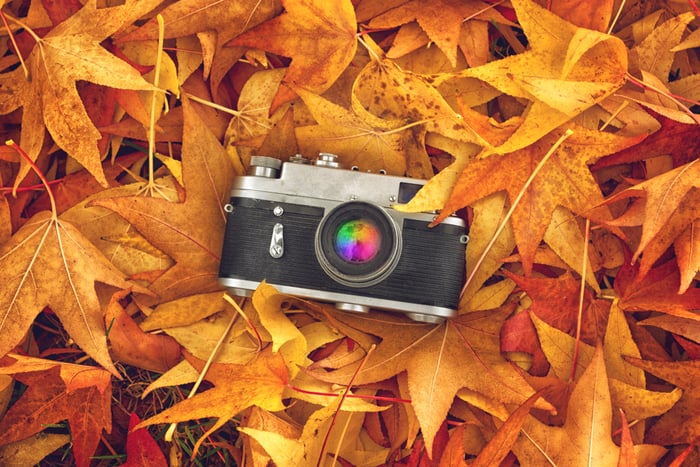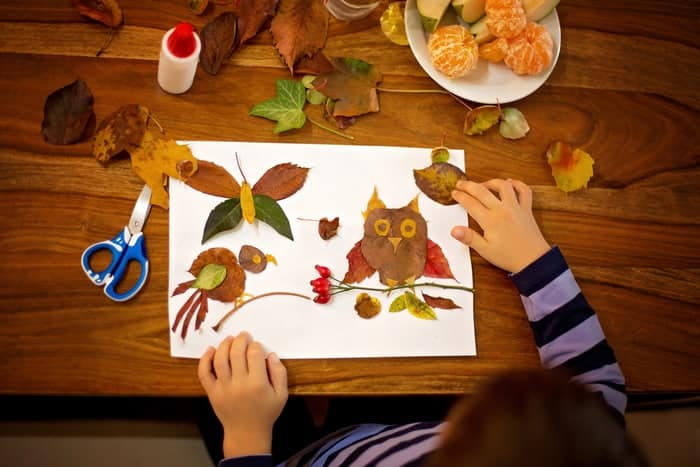
If you have a lot of trees on your property, you already know that leaves will fall all over your lawn. Many people see this as an annoying chore that they have to deal with each year. Some people even hire a landscaper to rake leaves for them. Once the raking is done, most people choose to throw them away in garbage bags. There are actually a lot of things you can do with those leaves. Don’t let those leaves go to waste! Sure, you can buy biodegradable leaf bags, but there are so many more solutions that are far better for the environment. Here are some things you can do with those beautiful, colorful leaves.
25. Compost

If you are not already making a compost pile in your backyard, you just might want to start. Compost is made from scraps of food, egg shells, leaves, weeds, or anything else from your yard that needs to be thrown away. Toss in some soil and mix up the various biodegradable additions to the compost pile. Over time, these natural things will begin to break down. This compost will be full of nutrients that are great for your plants in the spring.

Getting in the habit of composting is great for a few reasons. This will help you save money and prevent you from buying fertilizer in the spring. It also gives you a place to put your food scraps. If you lock your compost bin, it will be safe from raccoons and any other animals that may be trying to crawl into your garbage cans at night. In the spring time, you can add green plants once you are weeding the garden. It feels great to know that you are reusing these things from your everyday life instead of contributing to garbage dumps that are already overflowing with waste.