Interior design is a fantastic way to express yourself, and with so many designs, you’ll sometimes find it hard to decide on your style. Another big trend is bringing the outside indoors; what better way to do that than with some mind-blowing 3D flooring?
Imagine transporting yourself to a whole new world when you step into a room. Transform your bathroom into an ocean, give your children a portal to the jungle in their bedroom and bring in some tranquility to your kitchen with beautiful pebble 3D illusion flooring.
Bring Your Creativity To Life

You don’t just have to use walls to bring your creativity into your home; you can also use your floors. If you are bored with your standard tiles, why not cover them with some of these incredible 3D floor options that are available online?
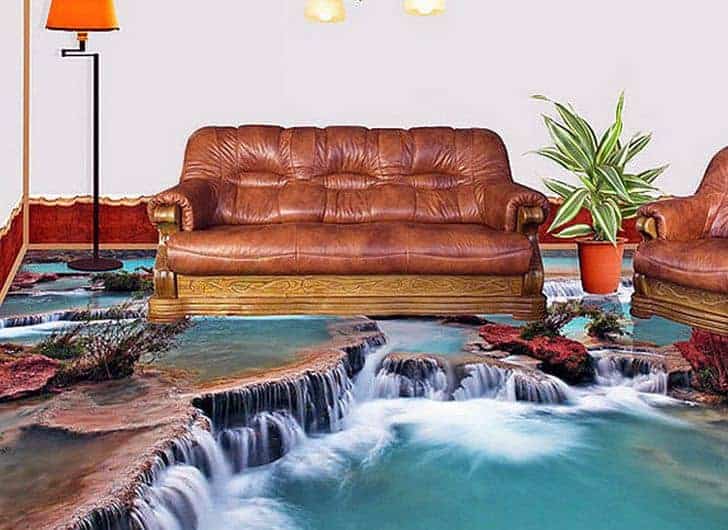
The bathroom is generally the obvious choice for places where people place their 3D flooring, but there are so many other options in your home. Rip up the carpet in your lounge and replace it with some sand illusion 3D flooring with the tide coming in softly. Find some of the best ideas for your home when you carry on reading!


